← All guides
Creating SmartPresets
Create a classic SmartPreset
Four steps to your own editing style — the most consistent long-term look.
10 min + ~4 h training
Step 01 — Select RAW photos
Open Lightroom Classic and select at least 500 edited RAW photos that show the style you want.
💡 Tip: The more consistently edited photos you select, the more consistent the result.
Step 02 — Start the regular creation
Go to Library → Plug-in Extras → Create SmartPreset.
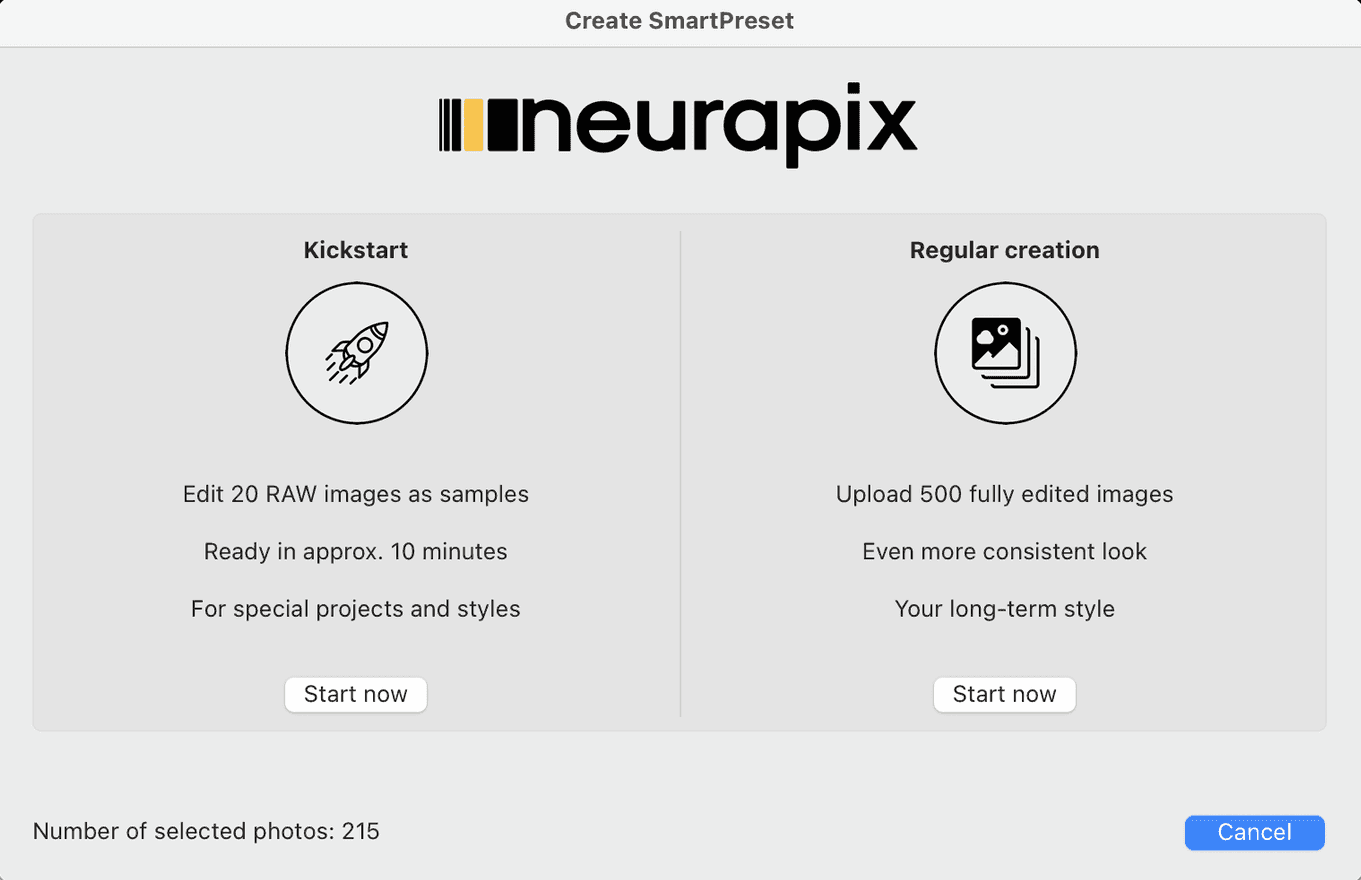
In the window that opens, choose “Regular creation” instead of “Kickstart” — this gives you the most consistent, long-term look.
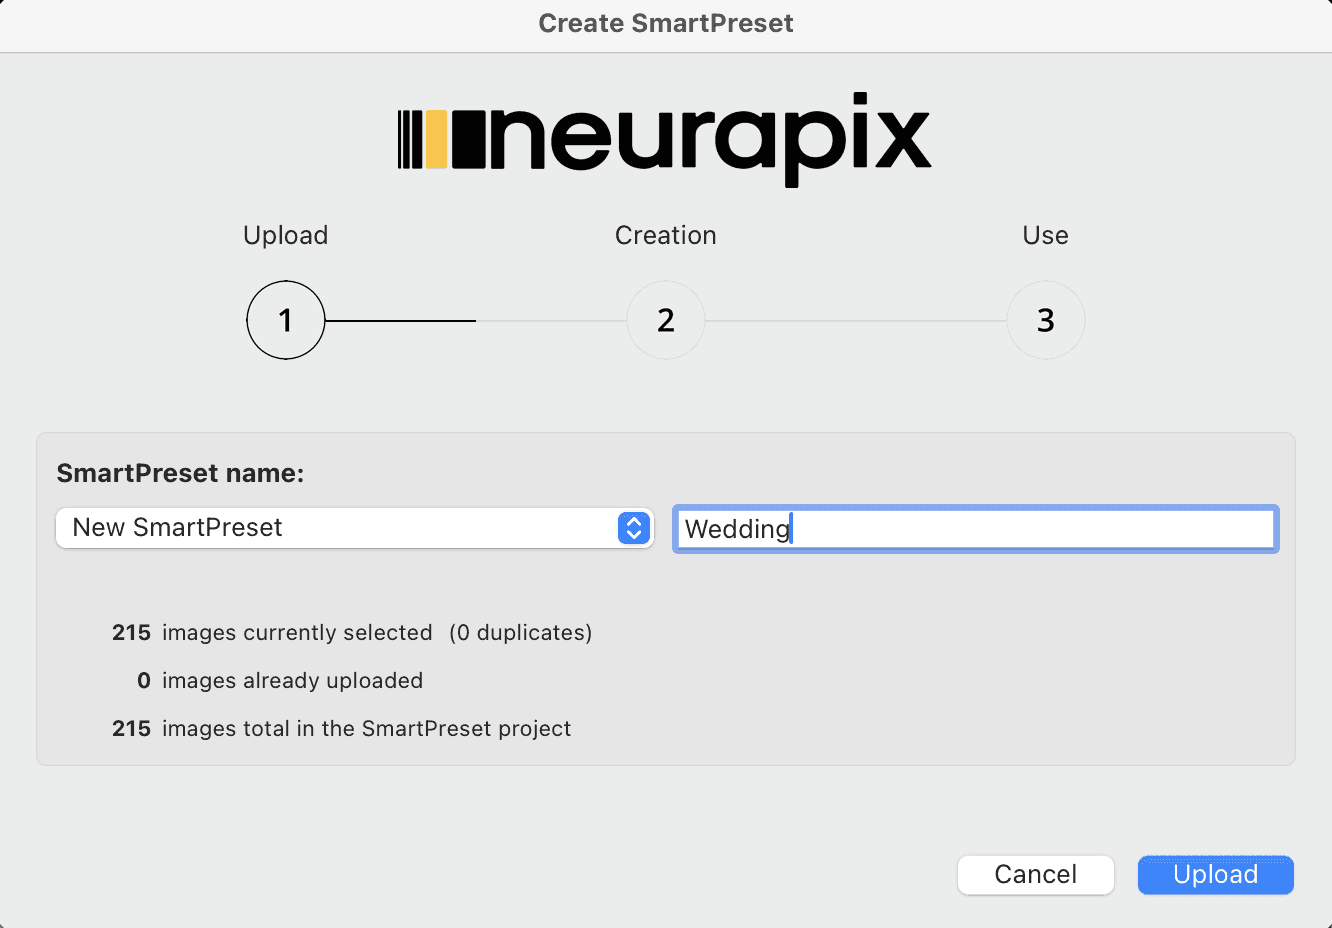
Enter a name for your SmartPreset and click “Upload”.
💡 Tip: “Kickstart” is great for quick tests with just 20 images; “Regular creation” is for your permanent style.
Step 03 — Get notified
Your SmartPreset is ready after about 4 hours. You’ll be notified by email as soon as training is complete.
💡 Tip: You can then apply the finished SmartPreset to new photos directly in Lightroom.
Your style, as a SmartPreset.
From now on, apply your SmartPreset to every new shoot — locally or on the server.
Everything at a glance


Start with 1,000 free AI edits.
Copyright © 2026 Neurapix GmbH. All rights reserved.